Installing R and RStudio
Use this link and use the blue buttons to install R and RStudio in your laptop.
1. R AND RStudio?
Yes, you’ll need to install two pieces of software because each does different things. Think about R as the car’s engine, and R Studio as the car itself. R takes care of the actual computations. R Studio is an “Integrated Development Environment” (IDE) that allows us to interface with R, as well as to develop projects, connect to external data bases, and visualize our products.
But I already have R and RStudio in my computer. Should I still do it?
Yes. I’m glad to hear you already have them. Please make sure you install the latest version of both. The class will flow better if everyone in the classroom has the same versions of R and RStudio.
2. Installation instructions
There are two tabs below. One with instructions to install R and one for R Studio. You can always click on an image to make it show in full screen mode.
The first step is to install R on your laptop. It doesn’t matter if you are running Windows, MacOS, or some Linux distro1, but you will need to have admin privileges. If you own your laptop, then you should have admin privileges.
MacOS and Windows users:
- Click on this link
- Under the label “1: Install R” you will see a blue button that says “DOWNLOAD AND INSTALL R”. Click on it.
- You’ll be taken to a new page. At the top of the page you will see a box with three links. Click the version link that matches your machine.

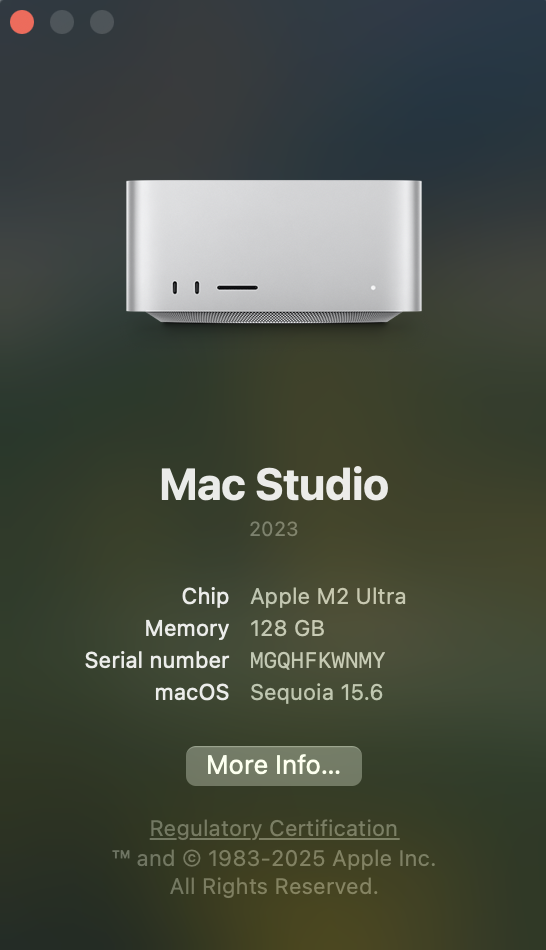
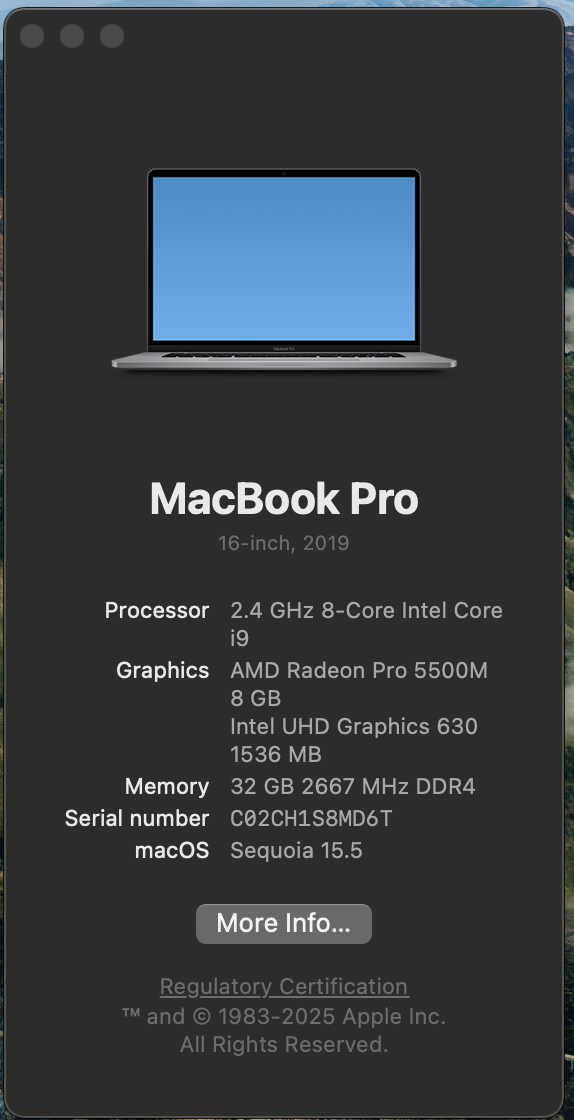
- Determine which processor (chip) your laptop has by using the spotlight search function (
Cmd+Space bar) and type “About this mac”. The screenshot below shows my desktop has the Apple M2 Ultra chip (Apple silicon), while my laptop has an Intel processor (Inter Core i9).
- Click on the version of R that matches your processor. On my desktop I clicked on
R-4.5.1-arm64.pkg.
- You will be given four options (see figure). Click on the one that says
base
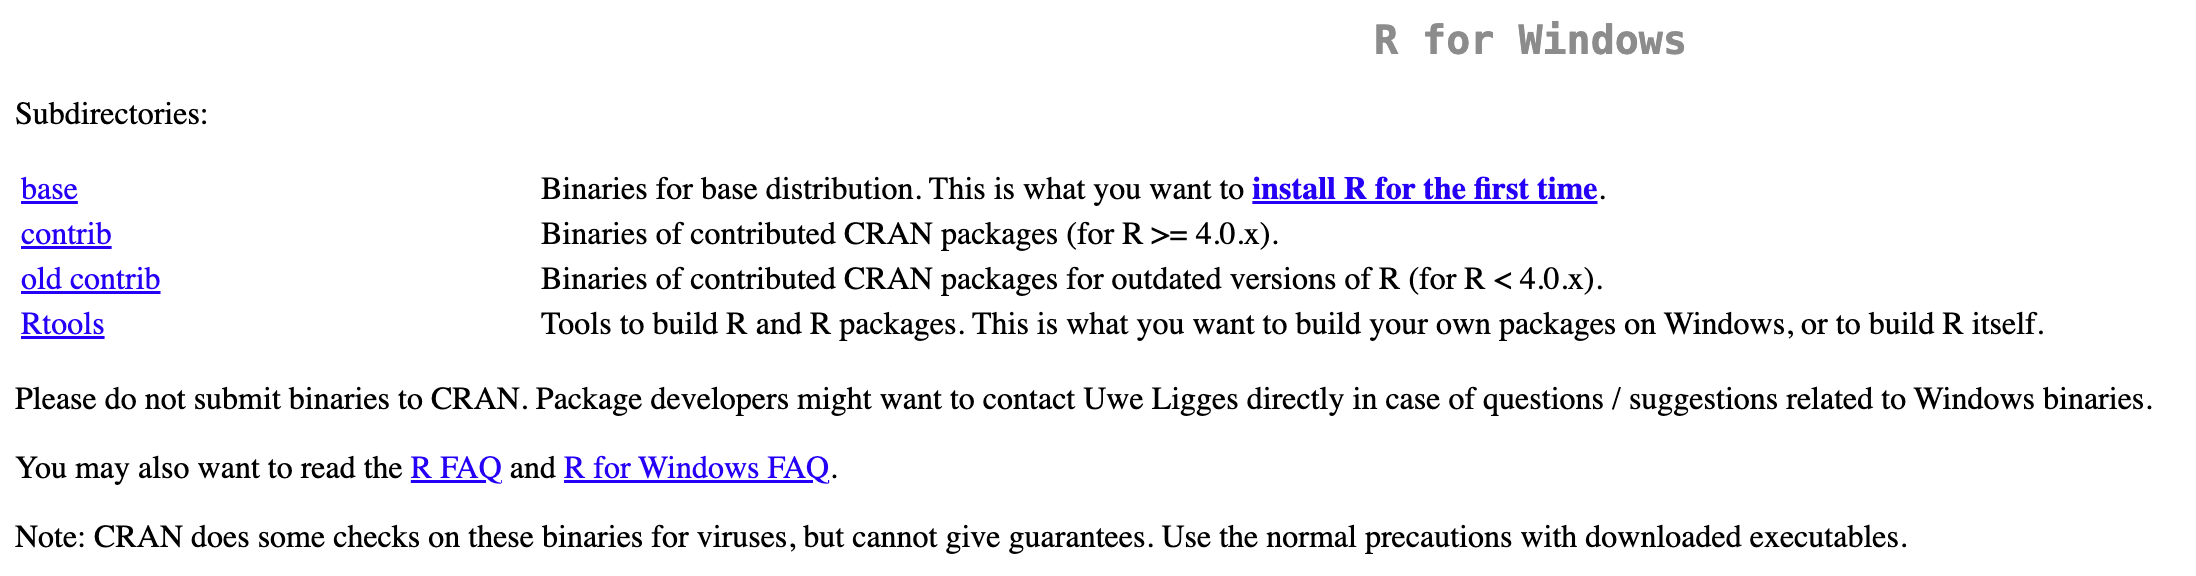
- You will be taken to a new page. Click on the download link at the top, which says “Download R-44.5.1 for Windows”. A file called
R-4.5.1-win.exewill download.
- (Optional) You might be prompted to save it in a desired location. Place it in your Downloads or Desktop folder, it doesn’t really matter.
- Navigate to the folder where it was downloaded and double-click on it. If you were not prompted to select a location, the file is likely under your Downloads folder.
- Follow the installation instructions (basically, click continue until you are done). A screenshot of the installer on MacOS is below. The Windows one will look similar.
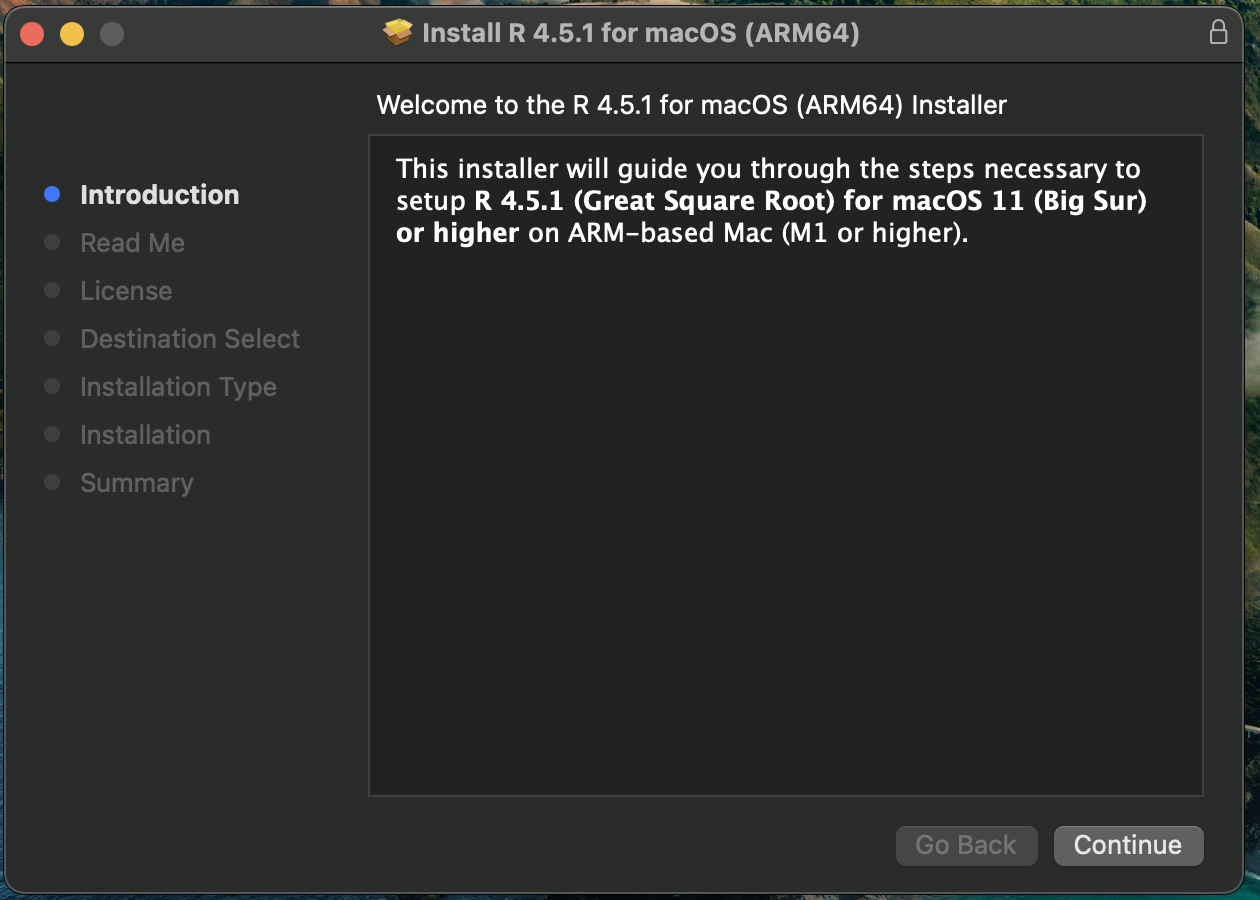
- You are done! Now proceed to installing R Studio
Linux users:
The above instructions also work because you can install precompiled binay distributions. If you prefer to do it yourself, here are some resources depending on your distro:
Do not attempt to install RStudio if you have not installed R!
- Click on this link
- Under the label “2: Install RStudio” you will se a blue button that says “DOWNLOAD RSTUDIO DESKTOP FOR …”. Click on it.
- A file will download.
- (Optional) You might be prompted to save it in a desired location. Place it in your Downloads or Desktop folder, it doesn’t really matter.
- Navigate to the folder where it was downloaded and double-click on it. If you were not prompted to select a location, the file is likely under your Downloads folder.
- A window will pop up. Drag and drop the RStudio Icon into the Applications folder.
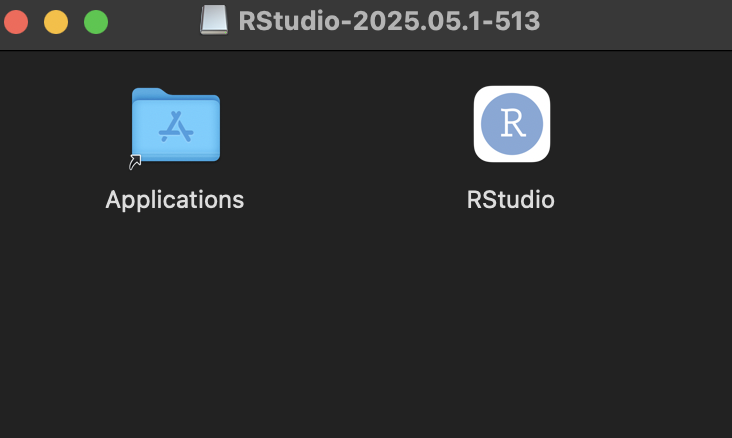
- Follow the installation instructions (basically, click continue until you are done).
- You are done!
3. Testing installations
Do not attempt to test installations until you have installed R AND RStudio! Go back up and make sure you’ve gone through both sets of instructions under sections 2.1 and 2.2.
- Open RStudio.
I said “Open RStudio” not “Open R”. The RStudio logo looks like this: ![]() , while the R logo looks like this:
, while the R logo looks like this: ![]() . Use the first one.
. Use the first one.
- You should see something like what’s shown on the screenshopt below. Yours might look a bit different, but you should see three or four main windows.
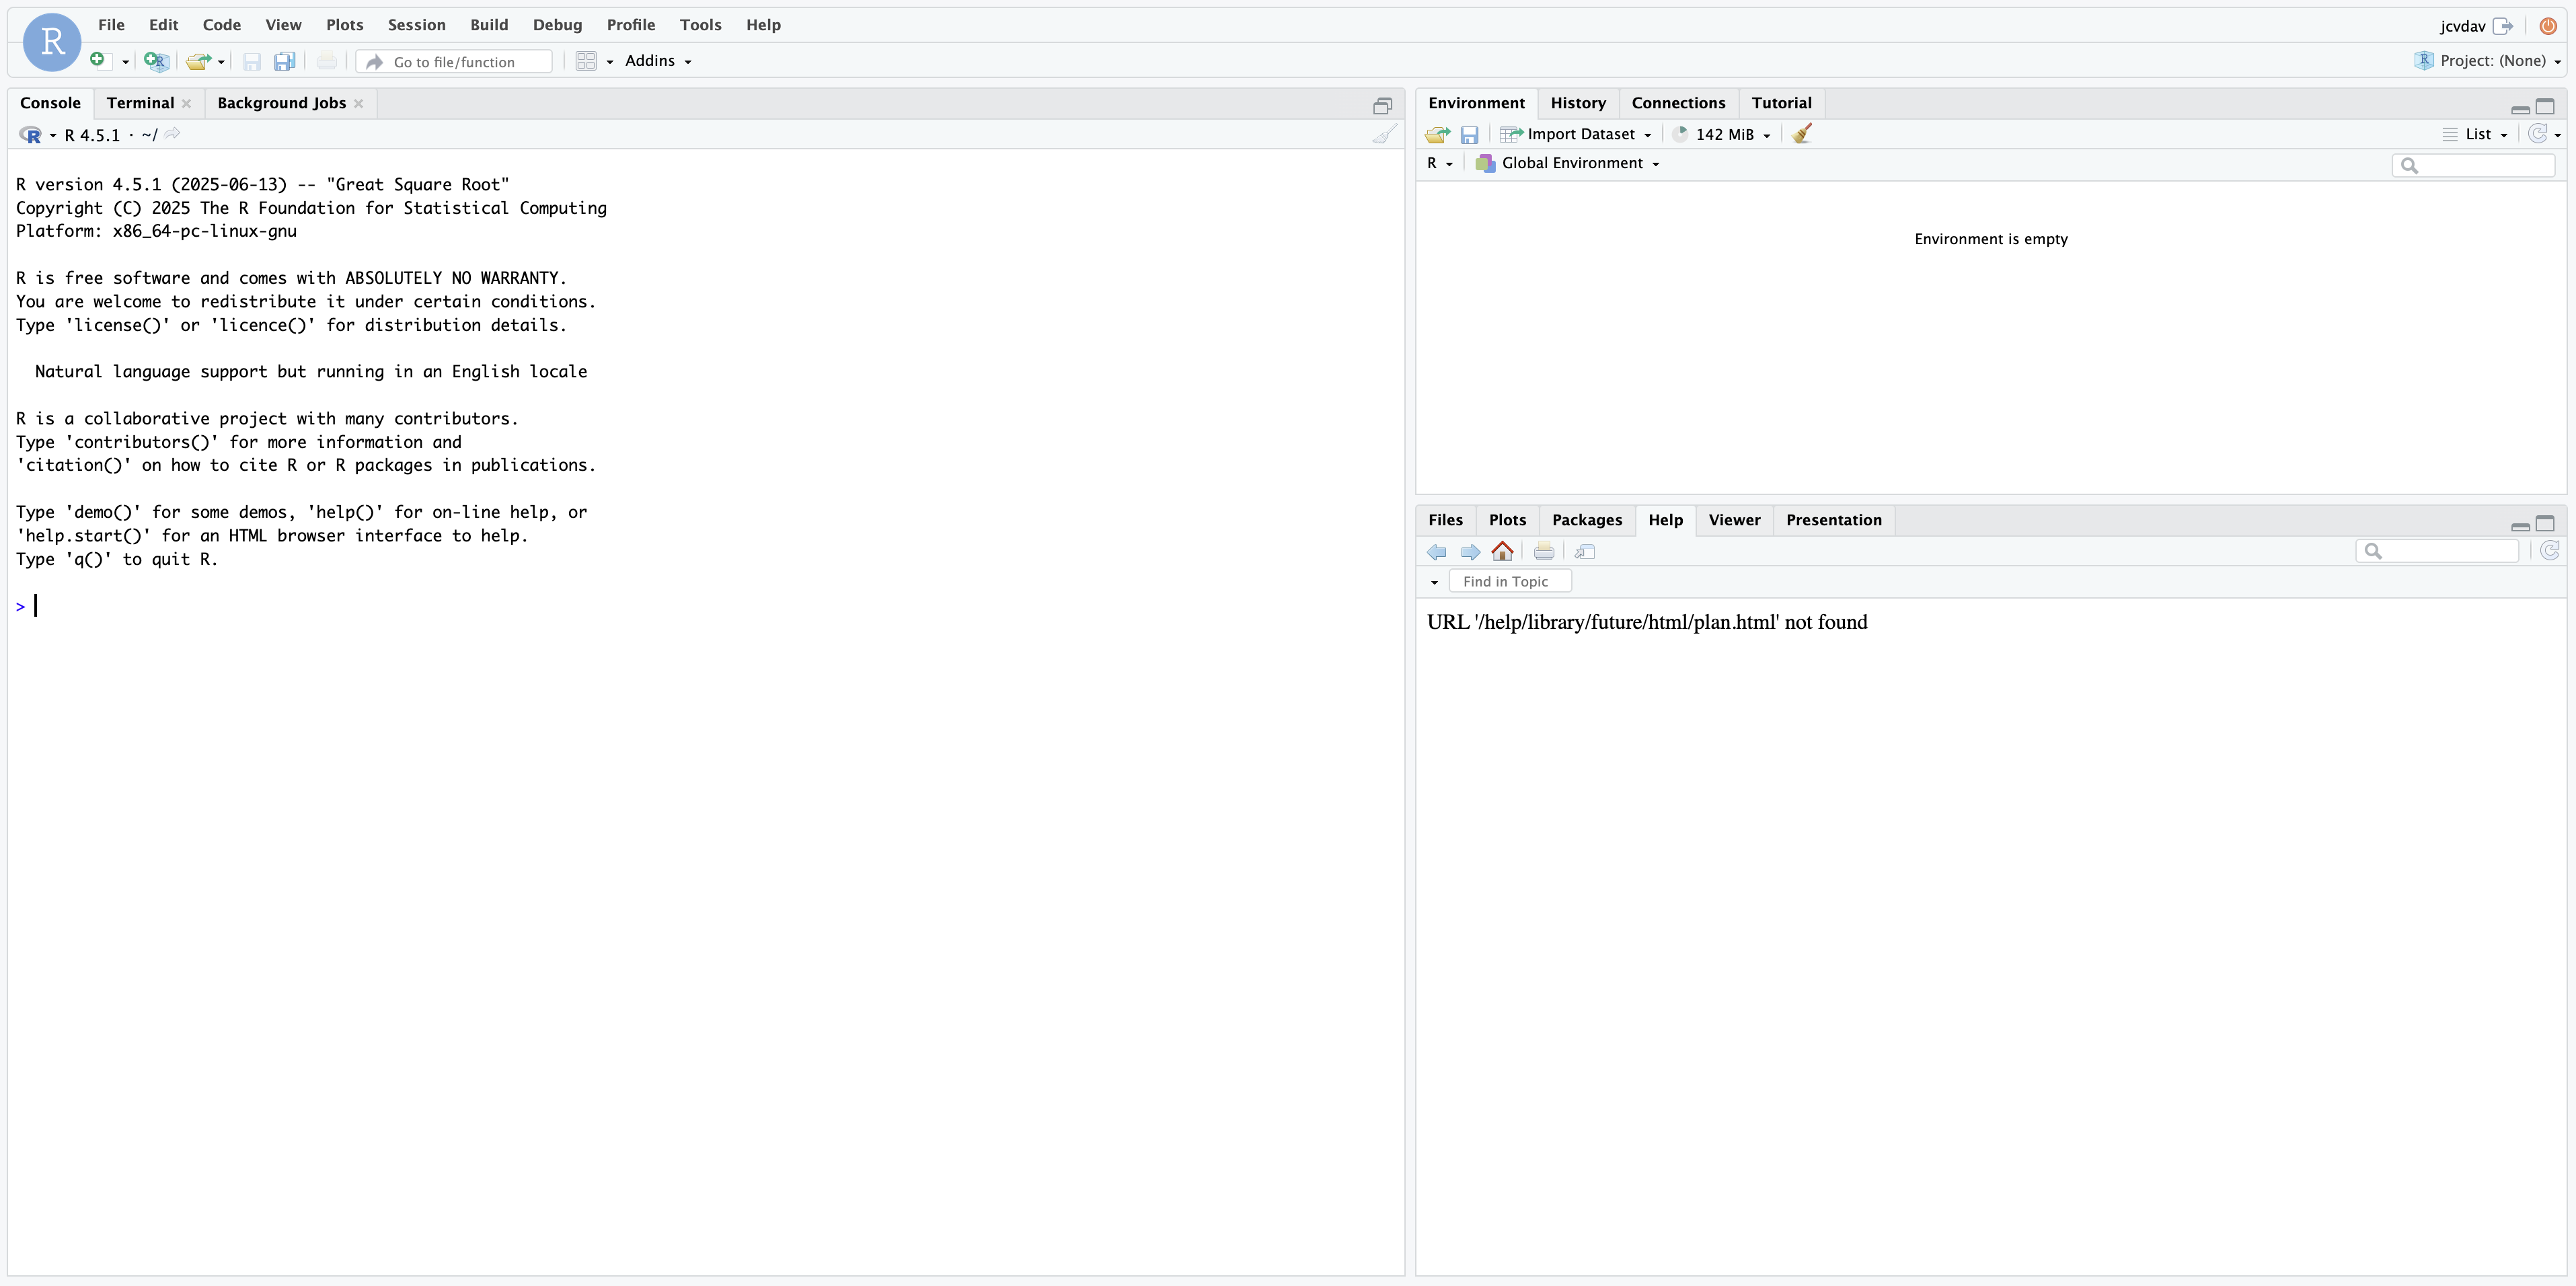
- If you got here, you are ready to go. See you in class! If you see something like the screenshot below, you opened R, not RStudio. Try again.

- If you have not been able to install or confirm installation, come meet me before class.
Footnotes
If you are using Linux, I assume you know what you are doing and you’ll be able to install R using whatever package manager you prefer.↩︎